Creating an Azure Pipeline to run OWASP ZAP with custom scan rules
Friday, February 9, 2024
Creating an Azure Pipeline to run OWASP ZAP with custom scan rules
#azure-devops #azure-pipelines #custom-scan-rules #owasp-zap #security
This article is published at GitHub.You can raise issues, create pull requests or even fork the content...its open source.
Creating an Azure Pipeline to run OWASP ZAP (Zed Attack Proxy) with custom scan rules in a Docker container involves several steps. You'll need to set up a pipeline configuration in Azure DevOps and define the necessary stages and tasks.
Prerequisites
The following prerequisites will be required to complete this tutorial:
- Azure DevOps account. If you don't have an Azure DevOps account, create one for free before you begin.
- Azure DevOps project, with a dotnet core project in a Git repository. If you don't have a repo fork the articles Git repo.
- A hosted Website which you own.
Create an OWASP ZAP Custom Rules File
In OWASP ZAP, you can create a custom rules file to ignore specific content in the scan. To ignore Storable and Cacheable Content, you can define a custom rule in a zap-custom-rules.conf file. Follow the steps below to create a zap-custom-rules-file.conf to ignore Storable and Cacheable Content.
In the root of an Azure DevOps Project, select Repos.
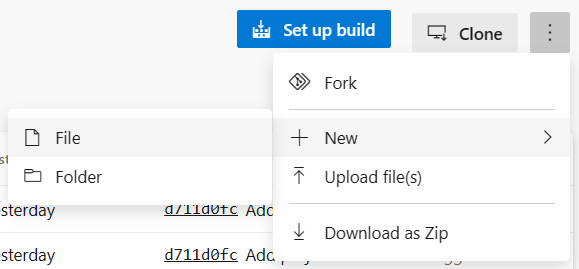
Whilst in the root of your repo, select More actions, then + New, and then Folder.
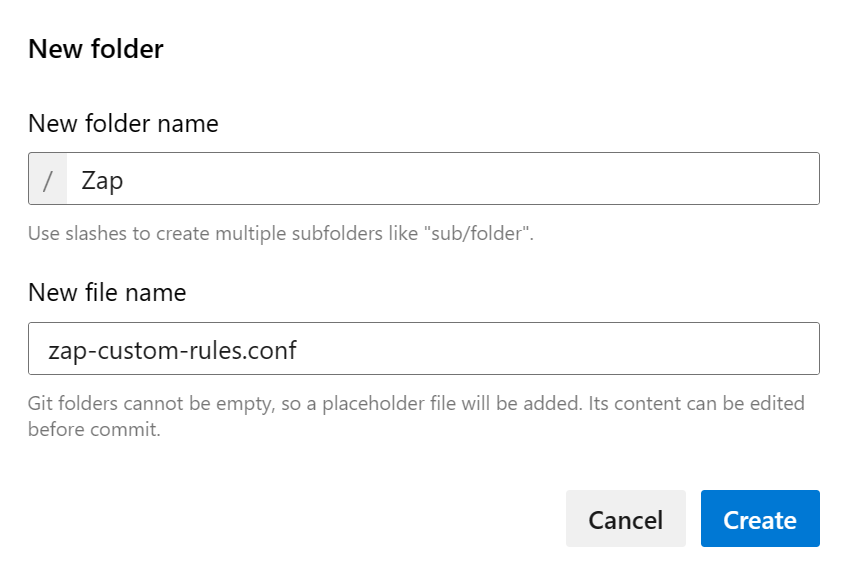
In the Modal Popup, add the folder name Zap into the New folder name text box and the file name zap-custom-rules-file.conf into the New file name text box.
Add the following contents to the zap-custom-rules-file.conf file.
10049 IGNORE (Storable and Cacheable Content)
In this configuration:
- The
Idof the rule you would like to ignore. - The
actionon the rul to take. - The
nameof the custom scan rule
Once you've created this custom-rules-file.conf, you can load it into OWASP ZAP to apply the custom rule during your scans.
Please note that ZAP's custom rules are quite flexible, and you can customize them further to meet your specific needs.
Create a Template for the Zap report
Navigate to the Zap folder in your repo, select More actions, then + New, and then File.
In the Modal Popup, add the file name xml_to_nunit.xslt into the New file name text box.
Add the following contents to the xml_to_nunit.xslt file.
<?xml version="1.0" encoding="utf-8"?>
<xsl:stylesheet version="1.1" xmlns:xsl="http://www.w3.org/1999/XSL/Transform" xmlns:msxsl="urn:schemas-microsoft-com:xslt" exclude-result-prefixes="msxsl">
  <xsl:output method="xml" indent="yes"/>

  <xsl:param name="sourceFolder"/>

  <xsl:variable name="NumberOfItems" select="count(OWASPZAPReport/site/alerts/alertitem)"/>
  <xsl:variable name="generatedDateTime" select="OWASPZAPReport/generated"/>

  <xsl:template match="/">
    <test-run id="1" name="OWASPReport" fullname="OWASPConvertReport" testcasecount="" result="Failed" total="{$NumberOfItems}" passed="0" failed="{$NumberOfItems}" inconclusive="0" skipped="0" asserts="{$NumberOfItems}" engine-version="3.9.0.0" clr-version="4.0.30319.42000" start-time="{$generatedDateTime}" end-time="{$generatedDateTime}" duration="0">
      <command-line>a</command-line>
      <test-suite type="Assembly" id="0-1005" name="OWASP" fullname="OWASP" runstate="Runnable" testcasecount="{$NumberOfItems}" result="Failed" site="Child" start-time="{$generatedDateTime}" end-time="{$generatedDateTime}" duration="0.352610" total="{$NumberOfItems}" passed="0" failed="{$NumberOfItems}" warnings="0" inconclusive="0" skipped="0" asserts="{$NumberOfItems}">

        <environment framework-version="3.11.0.0" clr-version="4.0.30319.42000" os-version="Microsoft Windows NT 10.0.17763.0" platform="Win32NT" cwd="C:\Program Files (x86)\Microsoft Visual Studio\2017\Enterprise\Common7\IDE" machine-name="Azure Hosted Agent" user="flacroix" user-domain="NORTHAMERICA" culture="en-US" uiculture="en-US" os-architecture="x86" />
        <test-suite type="TestSuite" id="0-1004" name="UnitTestDemoTest" fullname="UnitTestDemoTest" runstate="Runnable" testcasecount="2" result="Failed" site="Child" start-time="2019-02-01 17:03:03Z" end-time="2019-02-01 17:03:04Z" duration="0.526290" total="2" passed="1" failed="1" warnings="0" inconclusive="0" skipped="0" asserts="1">
          <test-suite type="TestFixture" id="0-1000" name="UnitTest1" fullname="UnitTestDemoTest.UnitTest1" classname="UnitTestDemoTest.UnitTest1" runstate="Runnable" testcasecount="2" result="Failed" site="Child" start-time="2019-02-01 17:03:03Z" end-time="2019-02-01 17:03:04Z" duration="0.495486" total="2" passed="1" failed="1" warnings="0" inconclusive="0" skipped="0" asserts="1">
            <xsl:for-each select="OWASPZAPReport/site/alerts/alertitem">
              <test-case id="0-1001" name="{name}" fullname="{name}" methodname="Stub" classname="UnitTestDemoTest.UnitTest1" runstate="NotRunnable" seed="400881240" result="Failed" label="Invalid" start-time="{$generatedDateTime}" end-time="{$generatedDateTime}" duration="0" asserts="0">
                <failure>
                  <message>
                    <xsl:value-of select="desc"/>.
                    <xsl:value-of select="solution"/>
                  </message>
                  <stack-trace>
                    <xsl:for-each select="instances/instance">
                      <xsl:value-of select="uri"/>, <xsl:value-of select="method"/>, <xsl:value-of select="param"/>,
                    </xsl:for-each>
                  </stack-trace>
                </failure>
              </test-case>
            </xsl:for-each>
          </test-suite>
        </test-suite>
      </test-suite>
    </test-run>
  </xsl:template>
</xsl:stylesheet>
Create and Run Azure DevOps Zap Pipeline
In the root of an Azure DevOps Project, select Pipelines.
Select Create Pipeline.
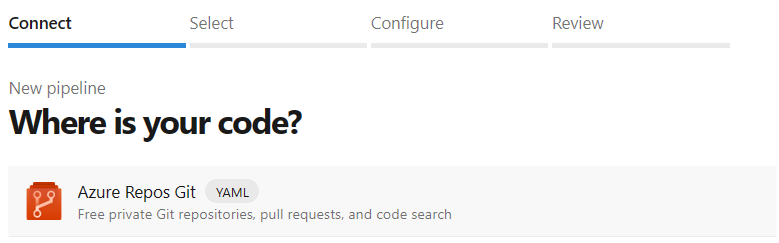
In the Connect tab, Select Azure Repos Git.
In the Select tab, select Starter pipeline YAML template.

Replace the Contents of the YAML file with the following YAML, also replace with the website url you would like to target.
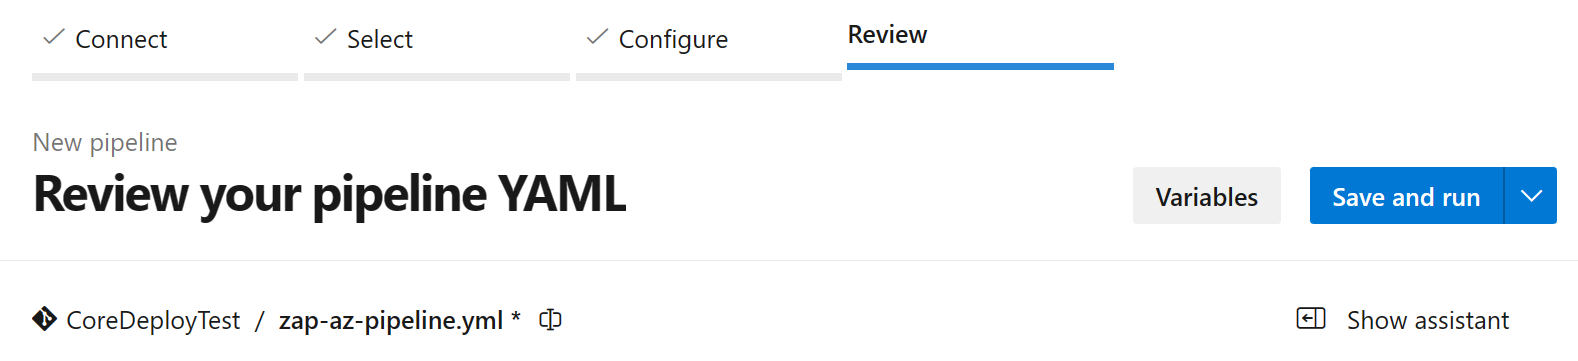
trigger:
- master

pr: none

pool:
  vmImage: 'ubuntu-latest'

steps:
- task: UsePythonVersion@0
  inputs:
    versionSpec: '3.x'
    addToPath: true
    architecture: 'x64'

- script: |
    # Install Docker
    curl -fsSL https://get.docker.com -o get-docker.sh
    sh get-docker.sh
  displayName: 'Install Docker'

- script: |
    # Pull the OWASP ZAP Docker image
    docker pull owasp/zap2docker-weekly

    # Start OWASP ZAP as a Docker container
    chmod -R 777 ./
    docker run -v $(pwd):/zap/wrk/:rw -t owasp/zap2docker-stable zap-baseline.py -t {YourWebsiteURL} -x xml_report.xml -c /zap/wrk/Zap/zap-custom-rules-file.conf
  displayName: 'Run OWASP ZAP Container'
  continueOnError: true

- bash: |
    sudo apt-get update
    sudo apt-get install xsltproc
    xsltproc --output converted_report.xml Zap/xml_to_nunit.xslt xml_report.xml
  displayName: 'Convert xml to Nunit xml'
- task: PublishTestResults@2
  displayName: Publish ZAP Test Results
  inputs:
    testResultsFormat: 'NUnit'
    testResultsFiles: 'converted_report.xml'
    testRunTitle: 'Zap Scanner Test Results'

- script: |
    # Stop and remove the OWASP ZAP container
    docker stop $(docker ps -q --filter "ancestor=owasp/zap2docker-stable")
    docker rm $(docker ps -aq --filter "ancestor=owasp/zap2docker-stable")
  displayName: 'Cleanup ZAP Container'
Rename the pipelines YAML file to zap-az-pipeline.yml and then select Save and run.
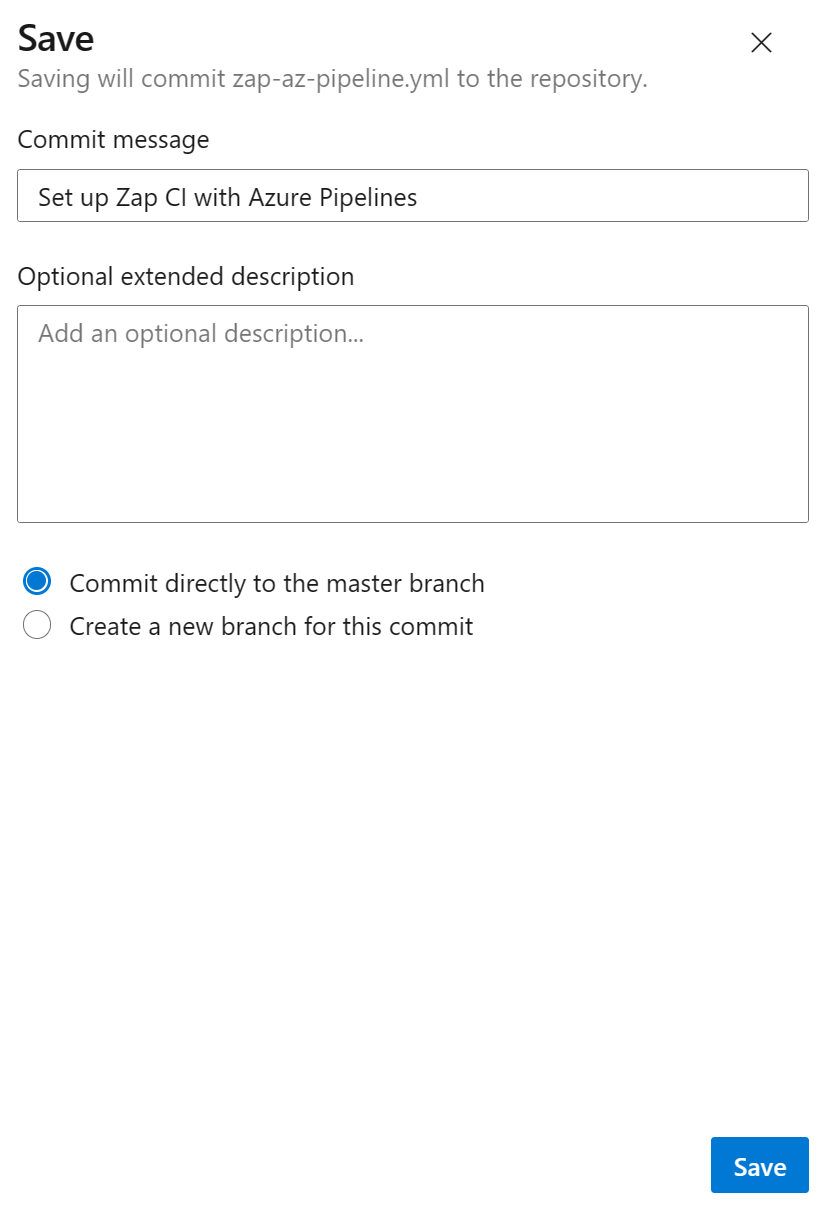
Add a commit message and then select Save and run.
This pipeline does the following:
- Triggers the pipeline on changes to the
masterbranch. - Specifies an Ubuntu-based agent pool.
- Installs Python and Docker on the agent.
- Pulls the OWASP ZAP Docker image and starts it in daemon mode.
- Executes custom scan rules using the ZAP Baseline. You need to provide your target website URL and the path to your custom rules configuration file.
- Saves the ZAP scan report as an XML file.
- Publishes the ZAP report and any additional artifacts generated during the scan.
- Stops and removes the ZAP container to clean up.
Make sure to customize the script arguments, scan rules, and file paths according to your specific use case. Additionally, consider using secret variables for sensitive information, such as the target website URL.
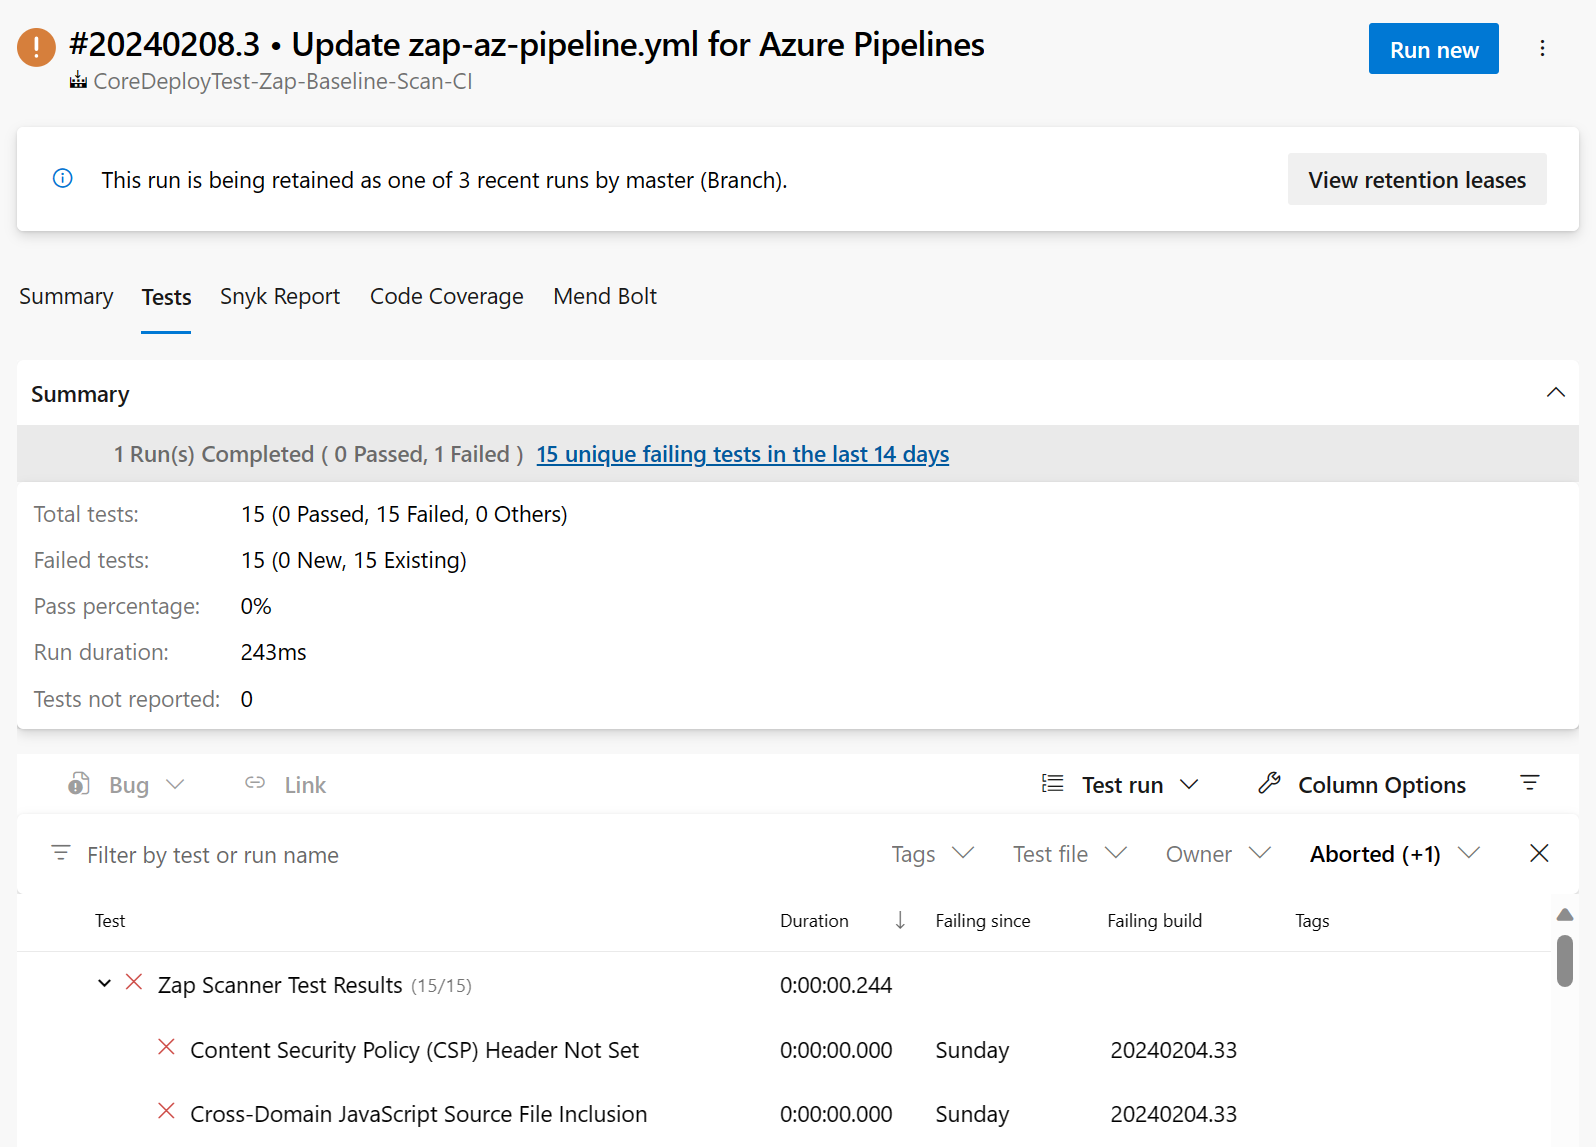
Review Zap Test Report and Remediate
Navigate to Pipelines.
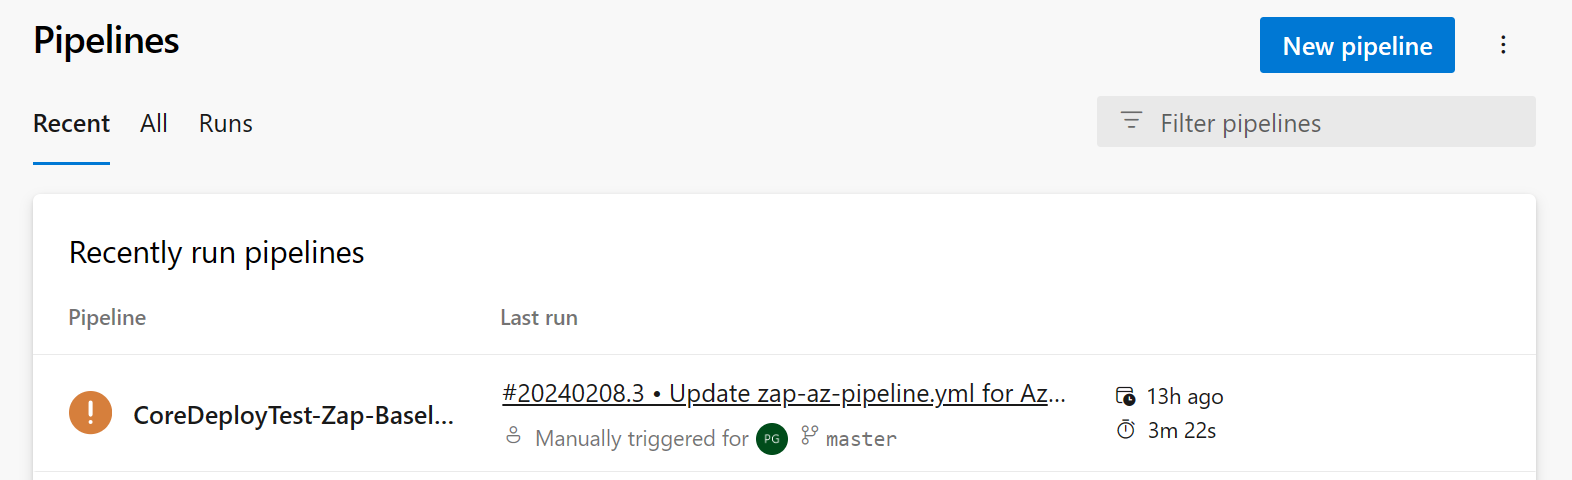
In the Runs tab, select a pipeline that has been run.
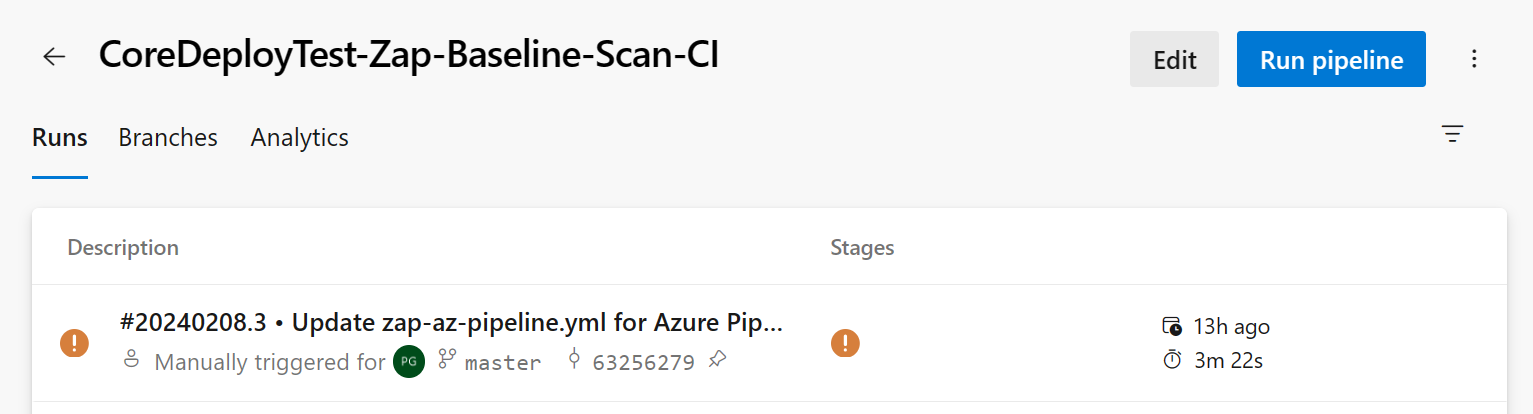
Select the Tests tab to view the Zap test report.
Resources
Got a comment?
All my articles are written and managed as Markdown files on GitHub.
Please add an issue or submit a pull request if something is not right on this article or you have a comment.
If you'd like to simply say "thanks", then please send me a so the rest of Twitter can see how awesome my work is.