Deploy NGINX Ingress Controller and Node.js Web App and API to Local Kubernetes Cluster with Helm and Kubectl
Monday, July 10, 2023
Deploy NGINX Ingress Controller and Node.js Web App and API to Local Kubernetes Cluster with Helm, Helm Charts and Kubectl
#docker-desktop #helm #helm-charts #kubectl #kubernetes #kubernetes-dashboard-ui #nginx-ingress-controller #node.js #visual-studio-code #wsl
This article is published at GitHub.You can raise issues, create pull requests or even fork the content...its open source.
In this article, you will learn how to deploy NGINX Ingress Controller and a Node.js web app and api with a mongodb to a local Kubernetes Cluster with Helm and Kubectl. At the end of this tutorial you will be able to build and deploy containerized applications to local Kubernetes. This article was inspired by the Microsoft Cloud Workshop Cloud Native Applications.
Prerequisites
The following prerequisites will be required to complete this tutorial:
- Visual Studio Code. If you don't have Visual Studio Code installed, download Visual Studio Code for free before you begin.
- Windows Subsystem for Linux (WSL). If you don't have WSL installed, download Docker WSL for free before you begin.
- Docker Desktop with Kubernetes enabled. If you don't have Docker Desktop installed, download Docker Desktop for free before you begin.
- Helm. If you don't have Helm installed, install helm for free before you begin.
Clone the MCW-Cloud-native-applications project
Open Visual Studio Code, select Terminal, and then New Terminal. Ensure you are running a Powershell terminal.

In the Terminal, navigate to a folder on your device where you would like to store a temporary project for this tutorial. Replace
{DevSample}with your chosen folder.cd /DevSampleRun the following commands to create a new folder named FabmedicalTemp and navigate to the folder.
mkdir FabmedicalTemp
cd FabmedicalTemp
Run the following command to clone the MCW-Cloud-native-applications project repository.
git clone https://github.com/microsoft/MCW-Cloud-native-applications.gitRun the following command to remove the .git directory because it is not required.
rm MCW-Cloud-native-applications/.git -r -forceRun the the following command to navigate to the developer folder.
cd MCW-Cloud-native-applications/'Hands-on lab'/lab-files/developerRun the following commands to initialize a new git repository and to set your username and email, for git to use for commits. Replace
{YourEmail@example.com}with your email and{Your Name}with your name.git init git config --global user.email "{YourEmail@example.com}" git config --global user.name "{Your Name}" git add . git commit -m "Initial Commit"Navigate to a folder on your device where you would like to store the Fabmedical Kubernetes project for this tutorial. Replace
{DevSample}with your chosen folder.cd /DevSampleRun the following commands to create a new folder named FabmedicalK8s and navigate to the folder.
mkdir FabmedicalK8s
cd FabmedicalK8s
Run the following command to clone the repository code into the FabmedicalK8s folder. Replace
{DevSample}with your chosen folder.git clone C://DevSample/FabmedicalTemp/MCW-Cloud-native-applications/'Hands-on lab'/lab-files/developer .
Push the FabmedicalK8s to a GitHub repo (Optional)
Create a GitHub repository to store the new project in your GitHub account named
Fabmedicalk8s.Run the following command to set the remote origin to the GitHub URL, replace
{YourGitHubUsername}with your Github username.git remote add origin https://github.com/{YourGitHubUsername}/Fabmedicalk8s.gitRun the following command to push to the main branch.
git push -u origin main
Install Kubernetes Dashboard UI
In Visual Studio Code, select Terminal, and then New Terminal. Run the following command to deploy the Kubernetes Dashboard UI.
kubectl apply -f https://raw.githubusercontent.com/kubernetes/dashboard/v2.0.0/aio/deploy/recommended.yamlRun the following command to ensure the pods are running.
kubectl get pods -ARun the following commands to navigate to Fabmedicalk8s folder and create a new folder named deploy. Replace
{DevSample}with your chosen folder.cd /DevSample/FabmedicalK8s mkdir deploy cd deployRun the following commands to create a new folder named K8s in the deploy folder and navigate to it.
mkdir K8s
cd K8s
Run the following command to add a new yaml file named
dashboard-adminuserinto the K8s folder.code dashboard-adminuser.yamlAdd the following contents into the
dashboard-adminuseryaml file.apiVersion: v1 kind: ServiceAccount metadata: name: admin-user namespace: kubernetes-dashboardRun the following command to add a new yaml file named
dashboard-adminuser-authorizationinto the K8s folder.code dashboard-adminuser-authorization.yamlAdd the following contents into the
dashboard-adminuser-authorizationyaml file.apiVersion: rbac.authorization.k8s.io/v1 kind: ClusterRoleBinding metadata: name: admin-user roleRef: apiGroup: rbac.authorization.k8s.io kind: ClusterRole name: cluster-admin subjects: - kind: ServiceAccount name: admin-user namespace: kubernetes-dashboardSave the changes and close the file.
Run the following commands to apply the configuration specified in the
dashboard-adminuseranddashboard-adminuser-authorizationyaml files.kubectl apply -f dashboard-adminuser.yaml kubectl apply -f dashboard-adminuser-authorization.yamlRun the following command to create a token to log into the Kubernetes Dashboard UI. Copy the token for later.
kubectl -n kubernetes-dashboard create token admin-userRun the following command to start the Kubernetes Dashboard UI.
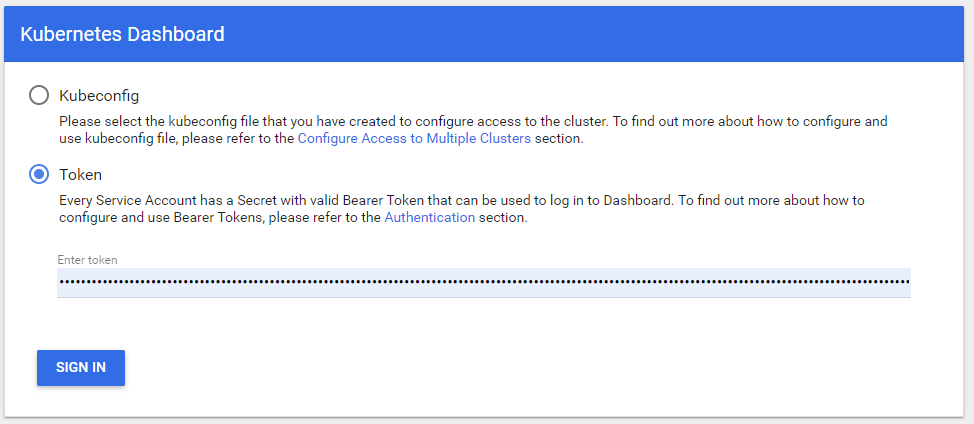
kubectl proxyNavigate to http://localhost:8001/api/v1/namespaces/kubernetes-dashboard/services/https:kubernetes-dashboard:/proxy/#/login. Select Token and paste the copied token into Enter token box.

[!NOTE] Every time you restart the cluster you have to manually start the dashboard and get a new login token.
Setup and deploy services using Helm and Helm Charts
Install mongodb using Helm
Run the following
helm installcommand to install bitnami mongodbs image.helm install my-release oci://registry-1.docker.io/bitnamicharts/mongodb --set auth.enabled=false
Build a docker image and setup Helm chart to run the content initialization container
In the same Terminal, run the following commands to navigate to content-init folder and build the content initialization docker image.
cd ../../content-init
docker image build -t content-init .
Run the following commands to navigate to the k8s folder and create a folder named helm.
cd ../deploy/k8s
mkdir helm
Run the following commands to navigate to the helm folder and create the scaffolded helm charts for the content initialization project.
cd helm
helm create content-init
Run the following commands to navigate to the content-init folder and open the scaffolded
valuesyaml file.cd content-init code values.yamlSearch for the
imagedefinition and update the values to match the following.image: repository: content-init pullPolicy: NeverSearch for
nameOverrideandfullnameOverride, and update the values to match the following.nameOverride: "content-init" fullnameOverride: "content-init"Save the changes and close the file.
Run the following command to open the scaffolded
chartyaml file.code chart.yamlSearch for
appVersionand update the values to match the following.appVersion: latestSave the changes and close the file.
Run the following commands to navigate to the templates folder and open the scaffolded
deploymentyaml file.cd templates code deployment.yamlSearch for the
containersdefinition and add the followingenvvariable.containers: ... ports: ... env: - name: MONGODB_CONNECTION value: mongodb://my-release-mongodb:27017/contentdb ...Save the changes and close the file.
Run the following command to navigate to the helm folder.
cd ../../Run the following
helm installcommand.helm install content-init ./content-init
Build a docker image and setup Helm chart to run the content api container
In the same Terminal, run the following commands to navigate to content-api folder and build the api docker image.
cd ../../../content-api
docker image build -t content-api .
Run the following commands to navigate to the helm folder and create the scaffolded helm charts for the api project.
cd ../deploy/k8s/helm
helm create api
Run the following commands to navigate to the api folder and open the scaffolded
valuesyaml file.cd api code values.yamlSearch for the
imagedefinition and update the values to match the following.image: repository: content-api pullPolicy: NeverSearch for
nameOverrideandfullnameOverride, and update the values to match the following.nameOverride: "api" fullnameOverride: "api"Search for the
servicedefinition and update the values to match the following.service: type: ClusterIP port: 3001Search for the
resourcesdefinition. Remove the curly braces and addrequeststo match the following.resources: # We usually recommend not to specify default resources and to leave this as a conscious # choice for the user. This also increases chances charts run on environments with little # resources, such as Minikube. If you do want to specify resources, uncomment the following # lines, adjust them as necessary, and remove the curly braces after 'resources:'. # limits: # cpu: 100m # memory: 128Mi requests: cpu: 1000m memory: 128MiSave changes and close the file.
Run the following command to open the scaffolded
chartyaml file.code chart.yamlSearch for
appVersionand update the values to match the following.appVersion: latestSave changes and close the file.
Run the following commands to navigate to the templates folder and open the scaffolded
deploymentyaml file.cd templates code deployment.yamlSearch for the
metadatadefinition and replace the line underannotationswith the following.apiVersion: apps/v1 kind: Deployment metadata: (...) spec: (...) template: metadata: (...) annotations: rollme: {{ randAlphaNum 5 | quote }}Search for the
containersdefinition and update thecontainerPort, andlivenessProbe portvalues to match the following. Also add the followingenvvariable.containers: ... ports: ... containerPort: 3001 ... env: - name: MONGODB_CONNECTION value: mongodb://my-release-mongodb:27017/contentdb livenessProbe: httpGet: ... port: 3001Save the changes and close the file.
Run the following command to open the scaffolded
serviceyaml file in the templates folder.code service.yamlSearch for the
portsdefinition and update the values to match the following.ports: - port: {{ .Values.service.port }} targetPort: 3001 protocol: TCP name: httpSave the changes and close the file.
Run the following command to navigate to the helm folder
cd ../../Run the following
helm installcommand.helm install api ./api
Build a docker image and setup Helm chart to run the content web container
In the same Terminal, run the following commands to navigate to content-web folder and build the web docker image.
cd ../../../content-web
docker image build -t content-web .
Run the following commands to navigate to helm and create the scaffolded helm charts for the web project.
cd ../deploy/k8s/helm
helm create web
Run the following commands to navigate to the web folder and open the scaffolded
valuesyaml file.cd web code values.yamlSearch for the
imagedefinition and update the values to match the following.image: repository: content-web pullPolicy: NeverSearch for
nameOverrideandfullnameOverride, and update the values to match the following.nameOverride: "web" fullnameOverride: "web"Search for the
servicedefinition and update the values to match the following.service: type: LoadBalancer port: 3000 targetPort: 3000 protocol: TCP name: webSearch for the
resourcesdefinition. Remove the curly braces and addrequeststo match the following.resources: # We usually recommend not to specify default resources and to leave this as a conscious # choice for the user. This also increases chances charts run on environments with little # resources, such as Minikube. If you do want to specify resources, uncomment the following # lines, adjust them as necessary, and remove the curly braces after 'resources:'. # limits: # cpu: 100m # memory: 128Mi requests: cpu: 1000m memory: 128MiSave the changes and close the file.
Run the following command to open the scaffolded
chartyaml file in the helm web folder.code chart.yamlSearch for
appVersionand update the values to match the following.appVersion: latestSave the changes and close the file.
Run the following commands to navigate to the templates folder and open the scaffolded
deploymentyaml file.cd templates code deployment.yamlSearch for the
metadatadefinition and replace the line underannotationswith the following.apiVersion: apps/v1 kind: Deployment metadata: (...) spec: (...) template: metadata: (...) annotations: rollme: {{ randAlphaNum 5 | quote }}Search for the
containersdefinition and update thecontainerPort, andlivenessProbe portvalues to match the following. Also add the followingenvvariable.containers: ... ports: ... containerPort: 3000 ... env: - name: CONTENT_API_URL value: http://api:3001 livenessProbe: httpGet: ... port: 3000Save the changes and close the file.
Run the following command to open the scaffolded
serviceyaml file in the templates folder.code service.yamlSearch for the
portsdefinition and update the values to match the following.ports: - port: {{ .Values.service.port }} targetPort: 3000 protocol: TCP name: httpSave the changes and close the file.
Run the following command to navigate to the helm folder.
cd ../../Run the following
helm installcommand.helm install web ./webOpen the Kubernetes Management Dashboard UI and select Services under Discovery and Load Balancing in the navigation menu.

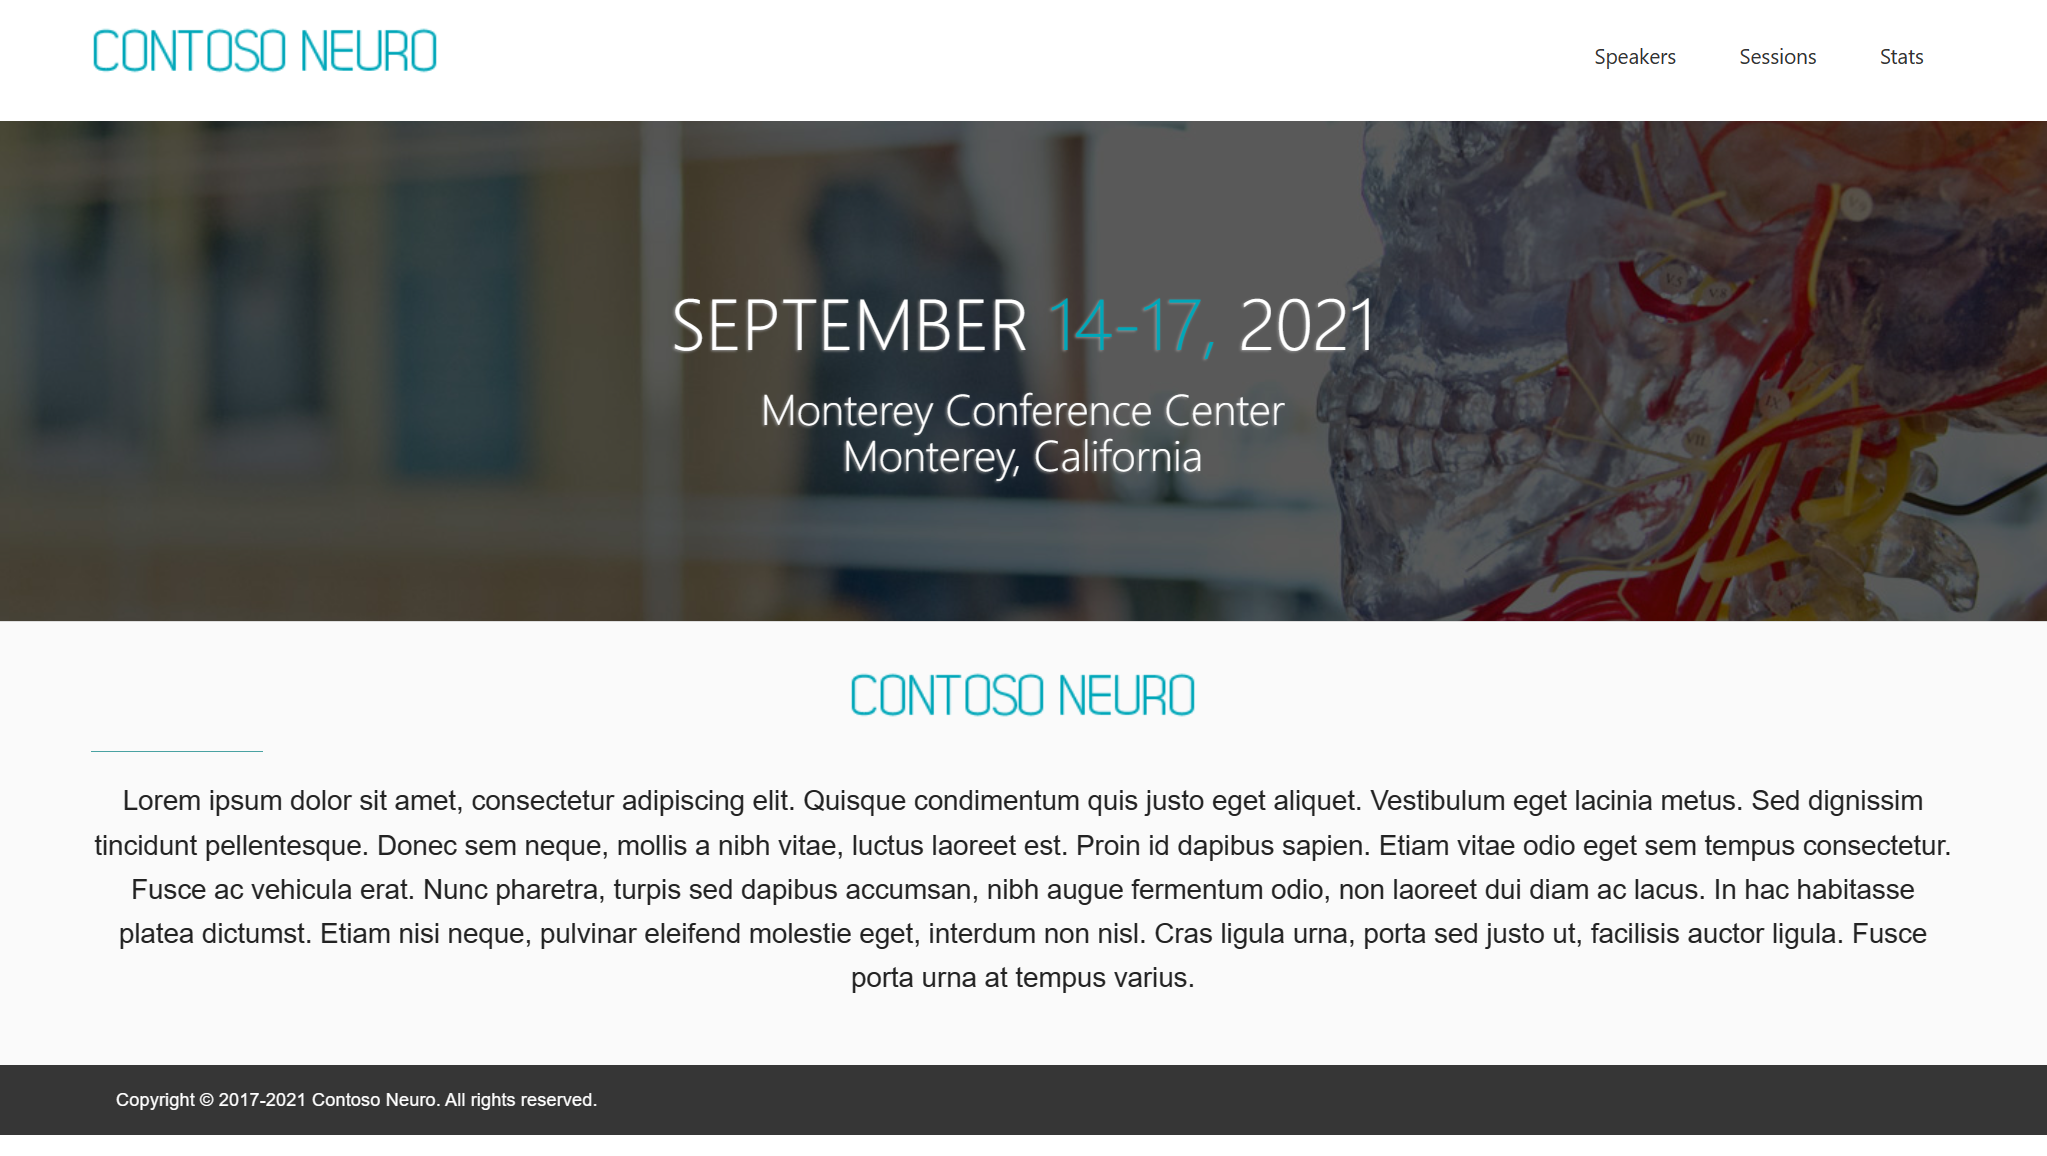
In the Services view, select the web service. Once the web service has finished deploying, select the external endpoint to access the website.

Install NGINX using Helm
In the same Terminal, run the following command to navigate to the k8s folder in the deploy folder.
cd ../Run the following
helm installcommand.helm upgrade --install ingress-nginx ingress-nginx --repo https://kubernetes.github.io/ingress-nginx --namespace ingress-nginx --create-namespaceRun the following commands to create a folder named nginx-ingress and navigate to the new nginx-ingress folder.
mkdir nginx-ingress
cd nginx-ingress
Run the following command to add a new yaml file named
content-nginx.code content-nginx.yamlAdd the following contents to the
content-nginxyaml file.apiVersion: networking.k8s.io/v1 kind: Ingress metadata: name: content-ingress annotations: nginx.ingress.kubernetes.io/ssl-redirect: "false" nginx.ingress.kubernetes.io/use-regex: "true" nginx.ingress.kubernetes.io/rewrite-target: /$1 spec: ingressClassName: nginx rules: - http: paths: - path: /(.*) pathType: Prefix backend: service: name: web port: number: 3000 - path: /api/(.*) pathType: Prefix backend: service: name: api port: number: 3001Run the following command to apply the nginx configuration specified in the
content-nginxyaml file to thedefaultnamespace.kubectl apply -f content-nginx.yaml --namespace default
[!NOTE] If you have any other applications running on your device on port 80, stop them otherwise they will clash with the following.
Navigate to http://localhost, in the navigation, select speakers to view the speakers data and select sessions to view the sessions data.


Got a comment?
All my articles are written and managed as Markdown files on GitHub.
Please add an issue or submit a pull request if something is not right on this article or you have a comment.
If you'd like to simply say "thanks", then please send me a so the rest of Twitter can see how awesome my work is.