Scan a dotnet Core Projects Dependencies for Potential Vulnerabilities in an Azure Pipeline with Snyk
Saturday, February 3, 2024
Scan a dotnet Core Projects Dependencies for Potential Vulnerabilities in an Azure Pipeline with Snyk
#azure-devops #azure-pipelines #dotnet-core #git #security #snyk
This article is published at GitHub.You can raise issues, create pull requests or even fork the content...its open source.
In the dynamic landscape of modern software development, security is not just a buzzword—it's a prerequisite. Open-source dependencies inject agility into our projects but also introduce potential vulnerabilities. Snyk, is a developer-centric solution for identifying and mitigating these risks. In this article, we'll walk through seamlessly integrating Snyk into Azure Pipelines, ensuring your dependencies are as robust as your code.
Understanding the Imperative
Before diving into the integration, let's acknowledge why managing dependencies is paramount. Our applications lean heavily on third-party libraries, but these can be an Achilles' heels if not managed meticulously. Snyk steps in as the guardian, offering a proactive stance against vulnerabilities, allowing developers to navigate the intricate web of dependencies securely.
Prerequisites
The following prerequisites will be required to complete this tutorial:
- Azure DevOps account. If you don't have an Azure DevOps account, create one for free before you begin.
- Azure DevOps project, with a dotnet core project in a Git repository. If you don't have a repo fork the articles Git repo.
- Snyk account. If you don't have a Snyk account, create one for free with your Azure DevOps account before you begin.
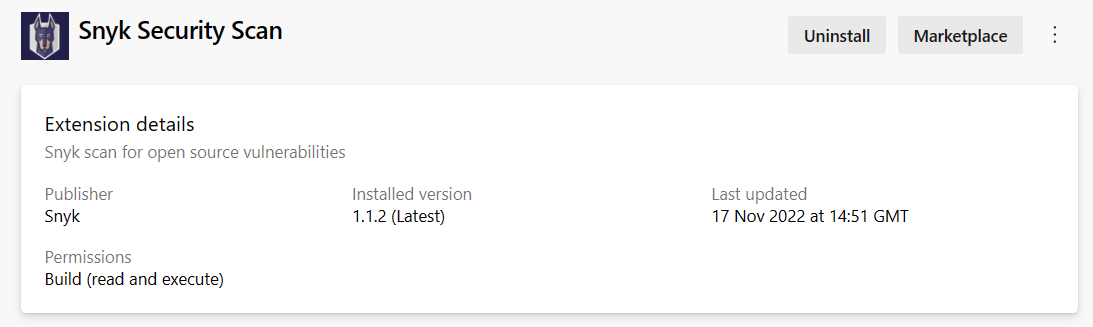
Add Snyk Extension to Azure DevOps
Begin by embracing Snyk into your Azure Pipelines workflow. The process, akin to the simplicity synonymous with Azure, empowers developers to fortify their projects effortlessly.
In the root of an Azure DevOps Organization, select Organization Settings in the bottom left of the screen.
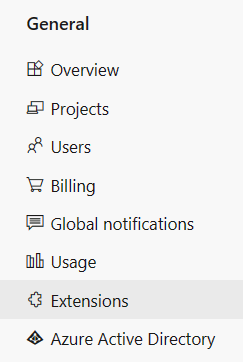
In the General section, select Extensions.
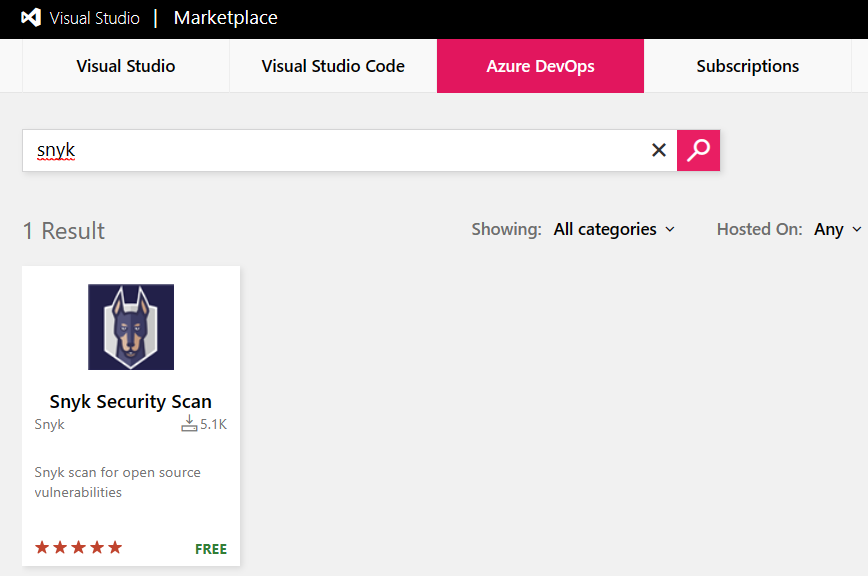
Select Browse marketplace.

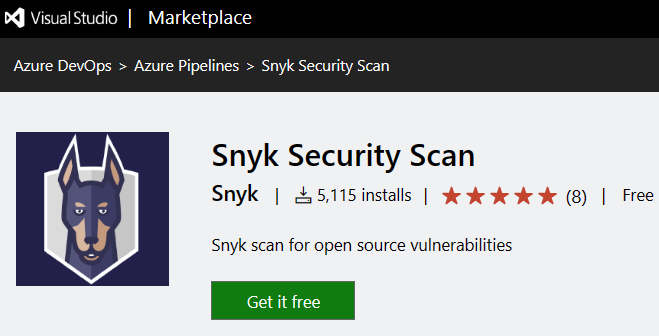
Search for snyk, and then select Snyk Security Scan.
Select Get if free, and then select Install.
In the Extensions section, Snyk Security Scan is now installed.
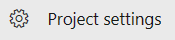
Add Snyk Service Connection to Azure DevOps Project
From the root of an Azure DevOps Project, select Project settings in the bottom left of the screen.
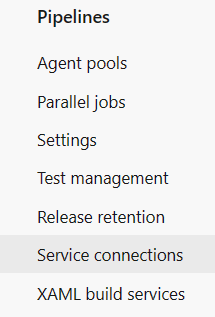
In the Pipelines section, select Service connections.
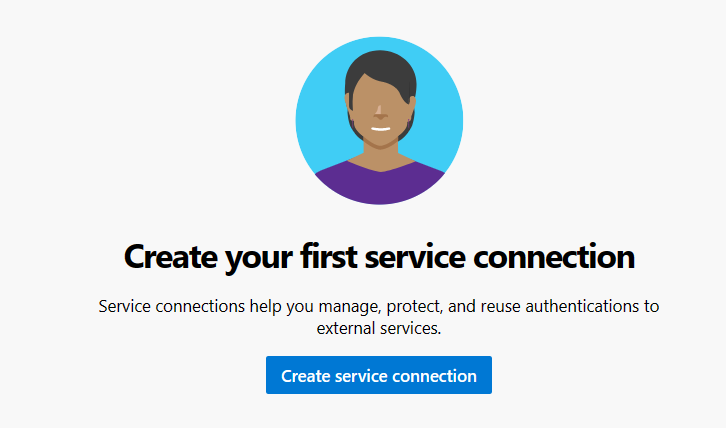
Select Create service connection.
Search for snyk, then select Next.
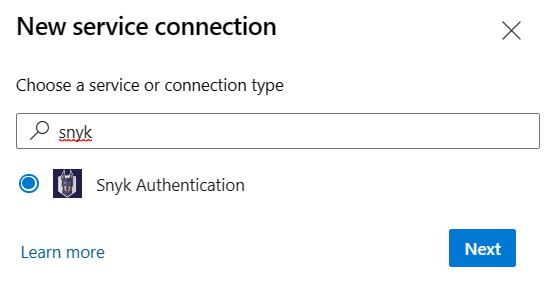
Enter the following values.
Parameter Value Server URL https://snyk.io/ Snyk API Token Your Snyk API Token (see below) Service connection name Snyk Grant access permission to all pipelines True 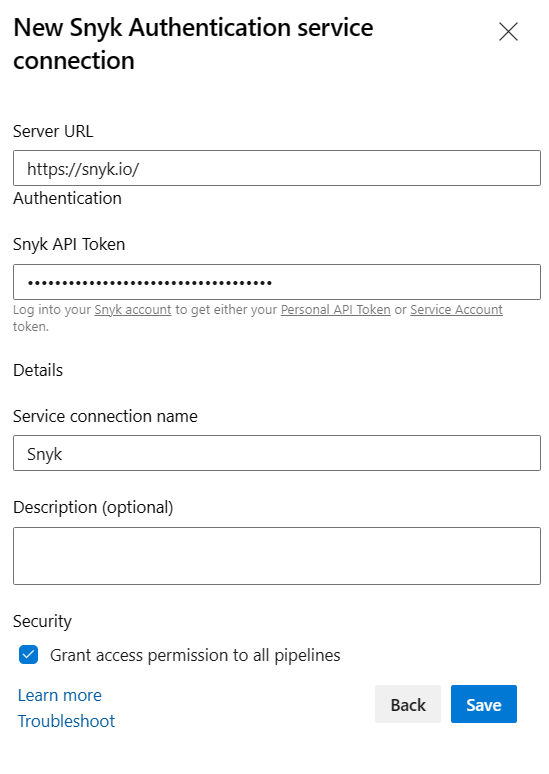
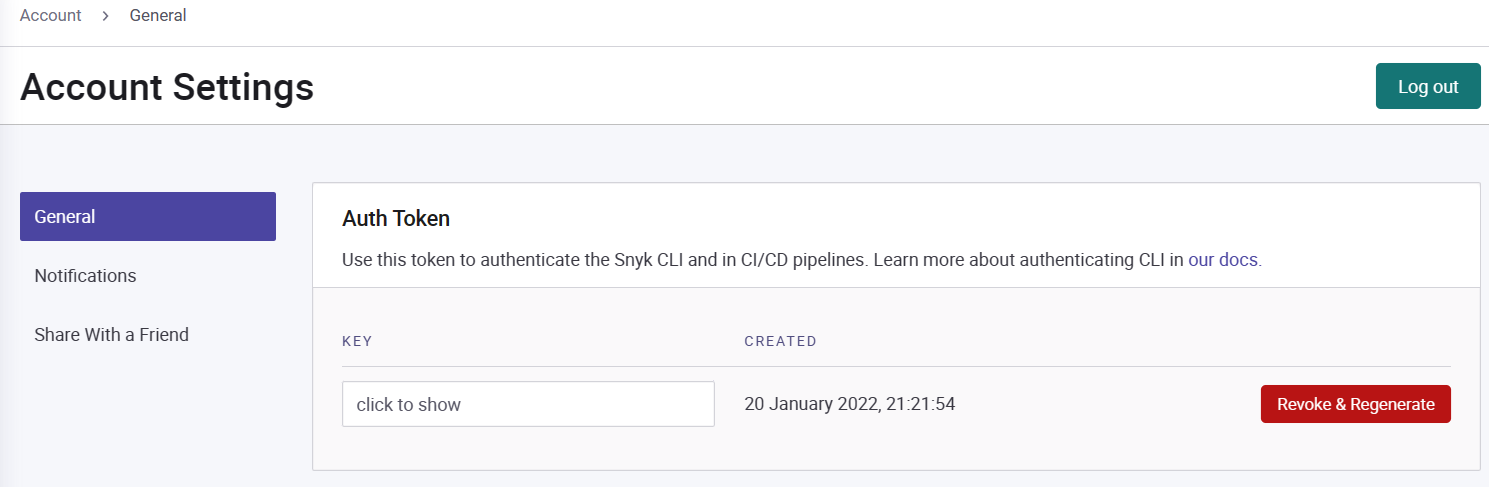
To get the Snyk API Token, in snyk account settings, select General, then select click to show the Key. Copy and paste the key into Azure DevOps Snyk Service Connection Setup Personal API Token box.
Create and Run Azure DevOps Snyk Pipeline
With the extension in place, incorporate the Snyk Scan task into your pipeline configuration. This task serves as the sentinel, scrutinizing your dependencies for vulnerabilities.
In the root of an Azure DevOps Project, select Pipelines.
Select Create Pipeline.
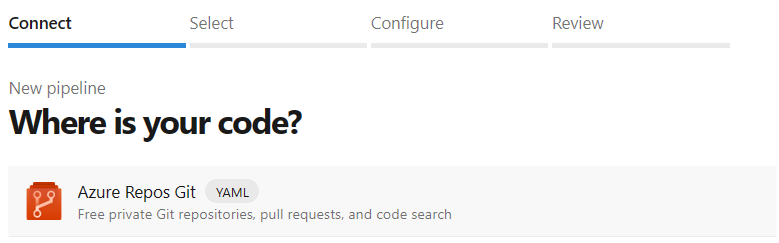
In the Connect tab, Select Azure Repos Git.
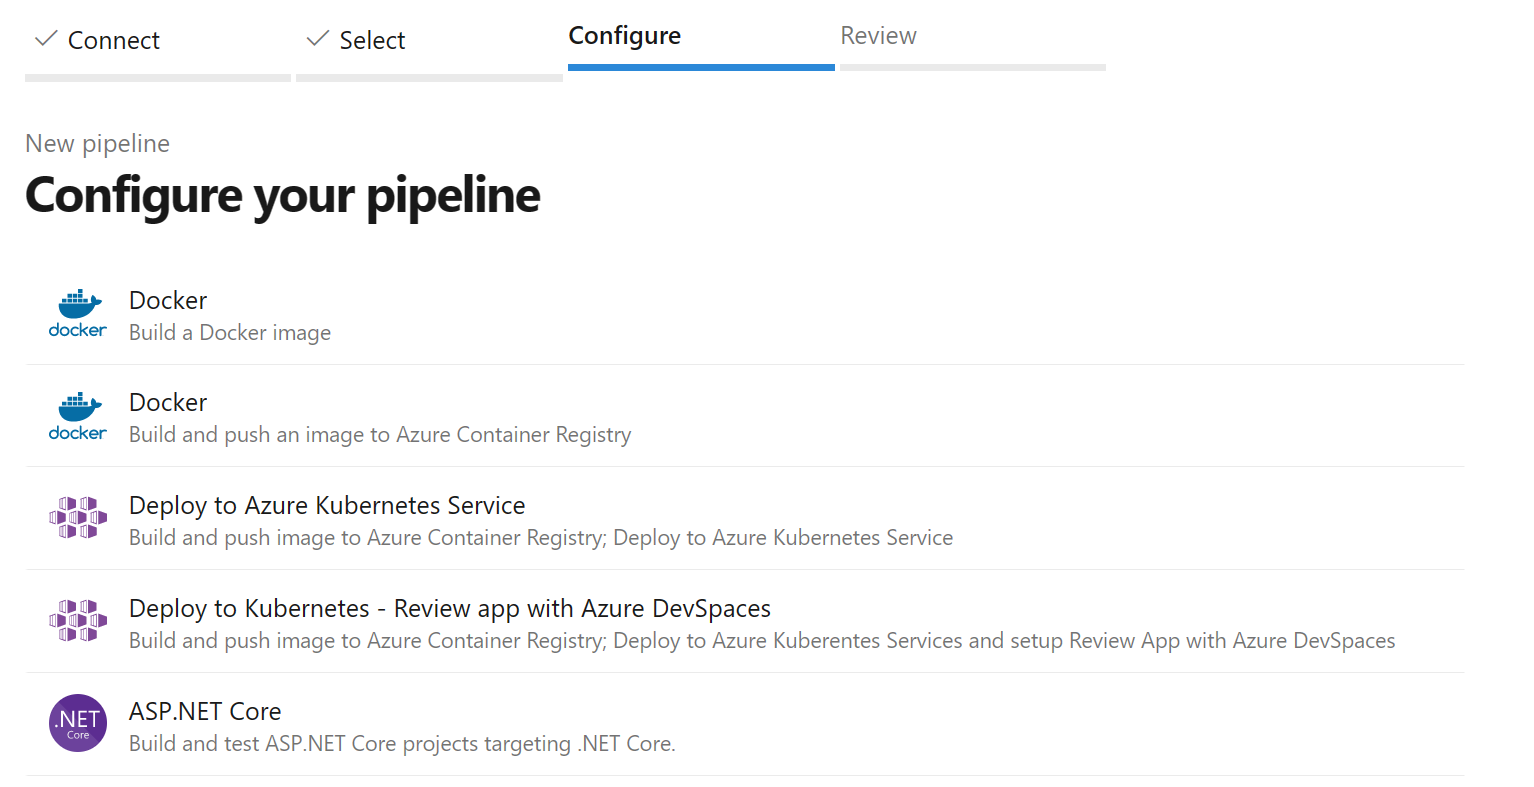
In the Select tab, select ASP.NET Core YAML template.
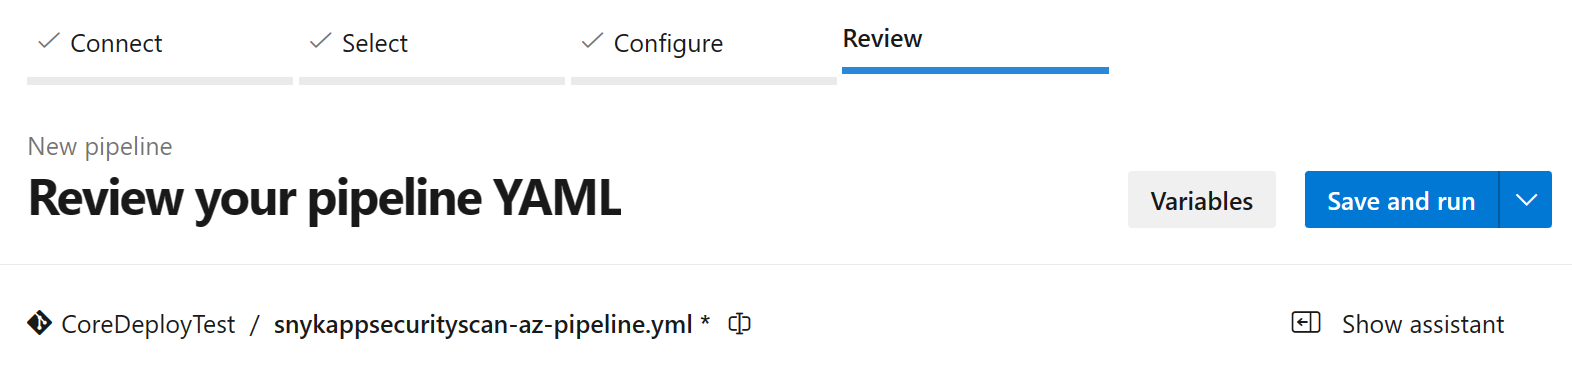
Replace the Contents of the YAML file with the following YAML.
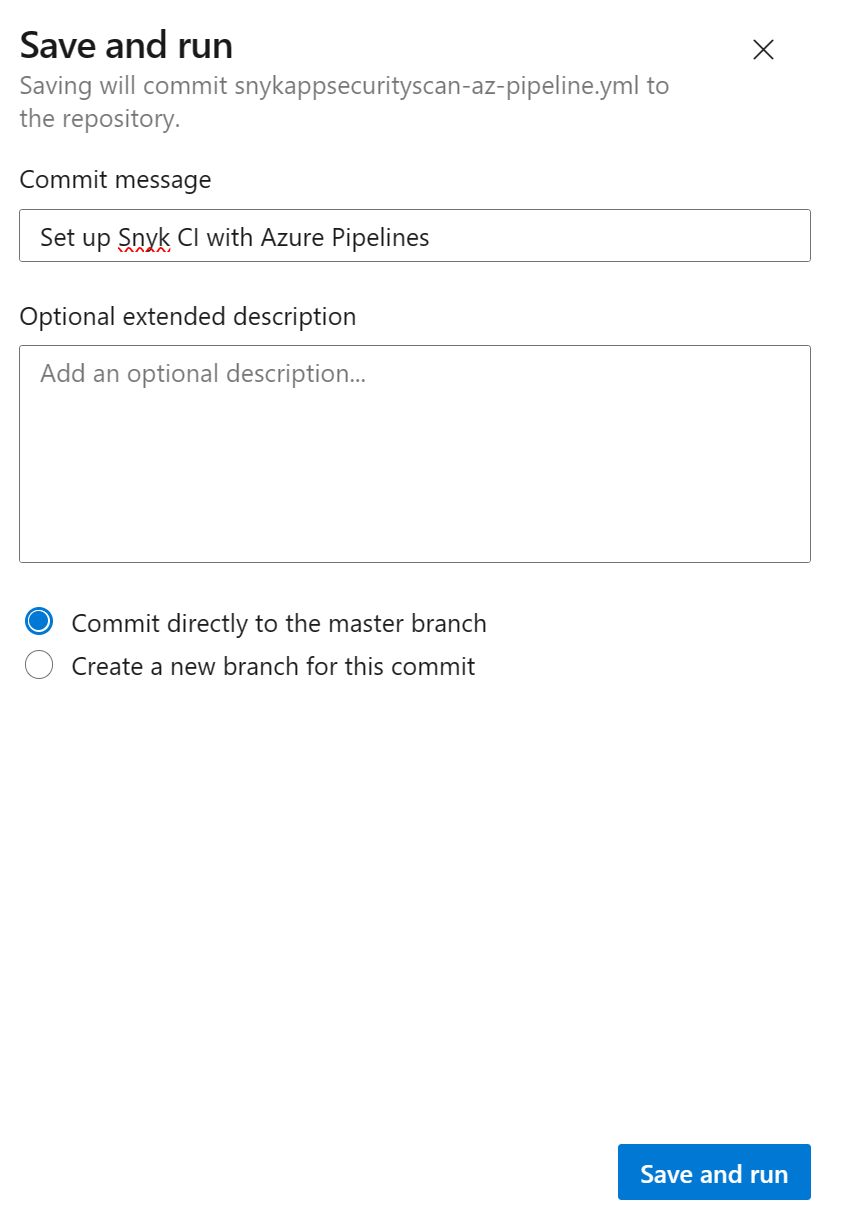
trigger:
- master

pool:
vmImage: ubuntu-latest

steps:
- task: DotNetCoreCLI@2
    inputs:
    command: 'build'
- task: SnykSecurityScan@1
  inputs:
    serviceConnectionEndpoint: 'Snyk'
    testType: 'app'
    failOnIssues: true
    monitorWhen: 'always'
    additionalArguments: '--all-projects --exclude=tests'
Rename the pipelines YAML file to snykappsecurityscan-az-pipeline.yml and then select Save and run.
Add a commit message and then select Save and run.
Review Snyk Test Report and Remediate
As the Snyk scan concludes, dive into the results presented in your Azure Pipelines console. Armed with detailed insights and recommendations, developers can swiftly prioritize and address vulnerabilities—a testament to Snyk's commitment to actionable security.
Navigate to Pipelines.
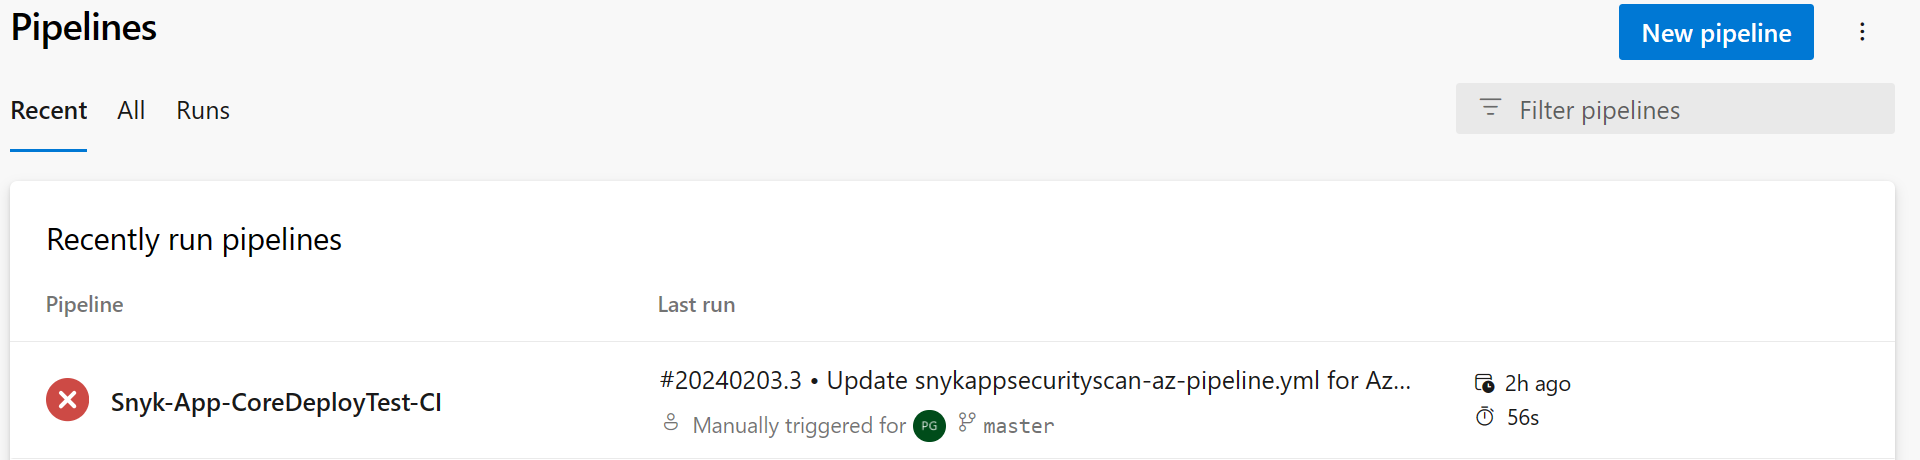
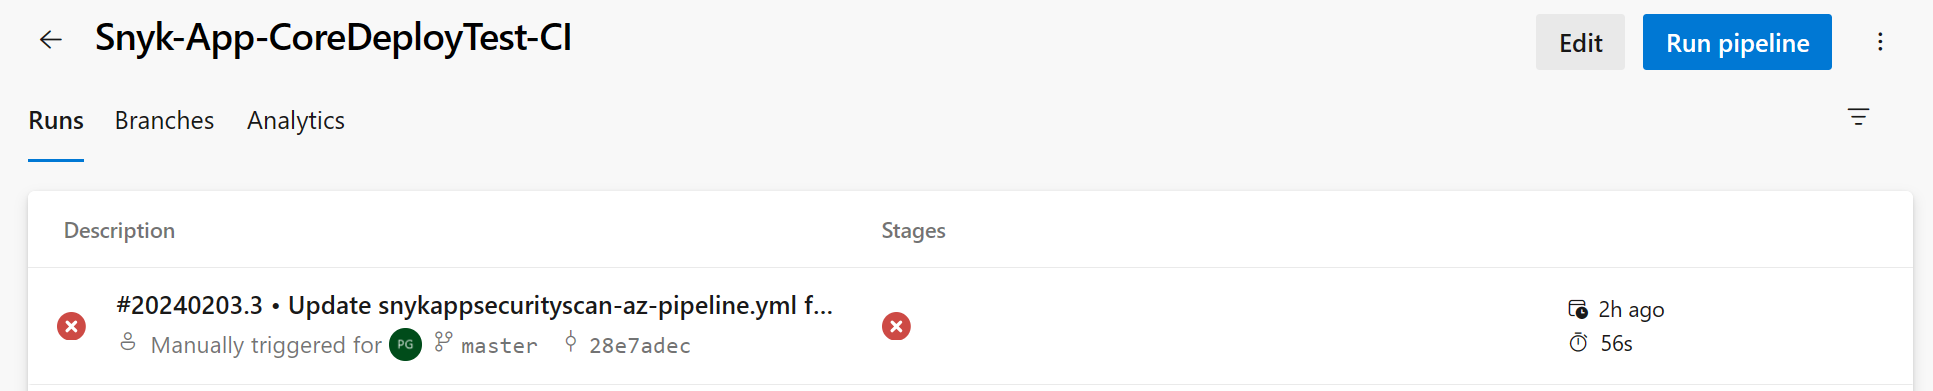
In the Runs tab, select a pipeline that has been run.
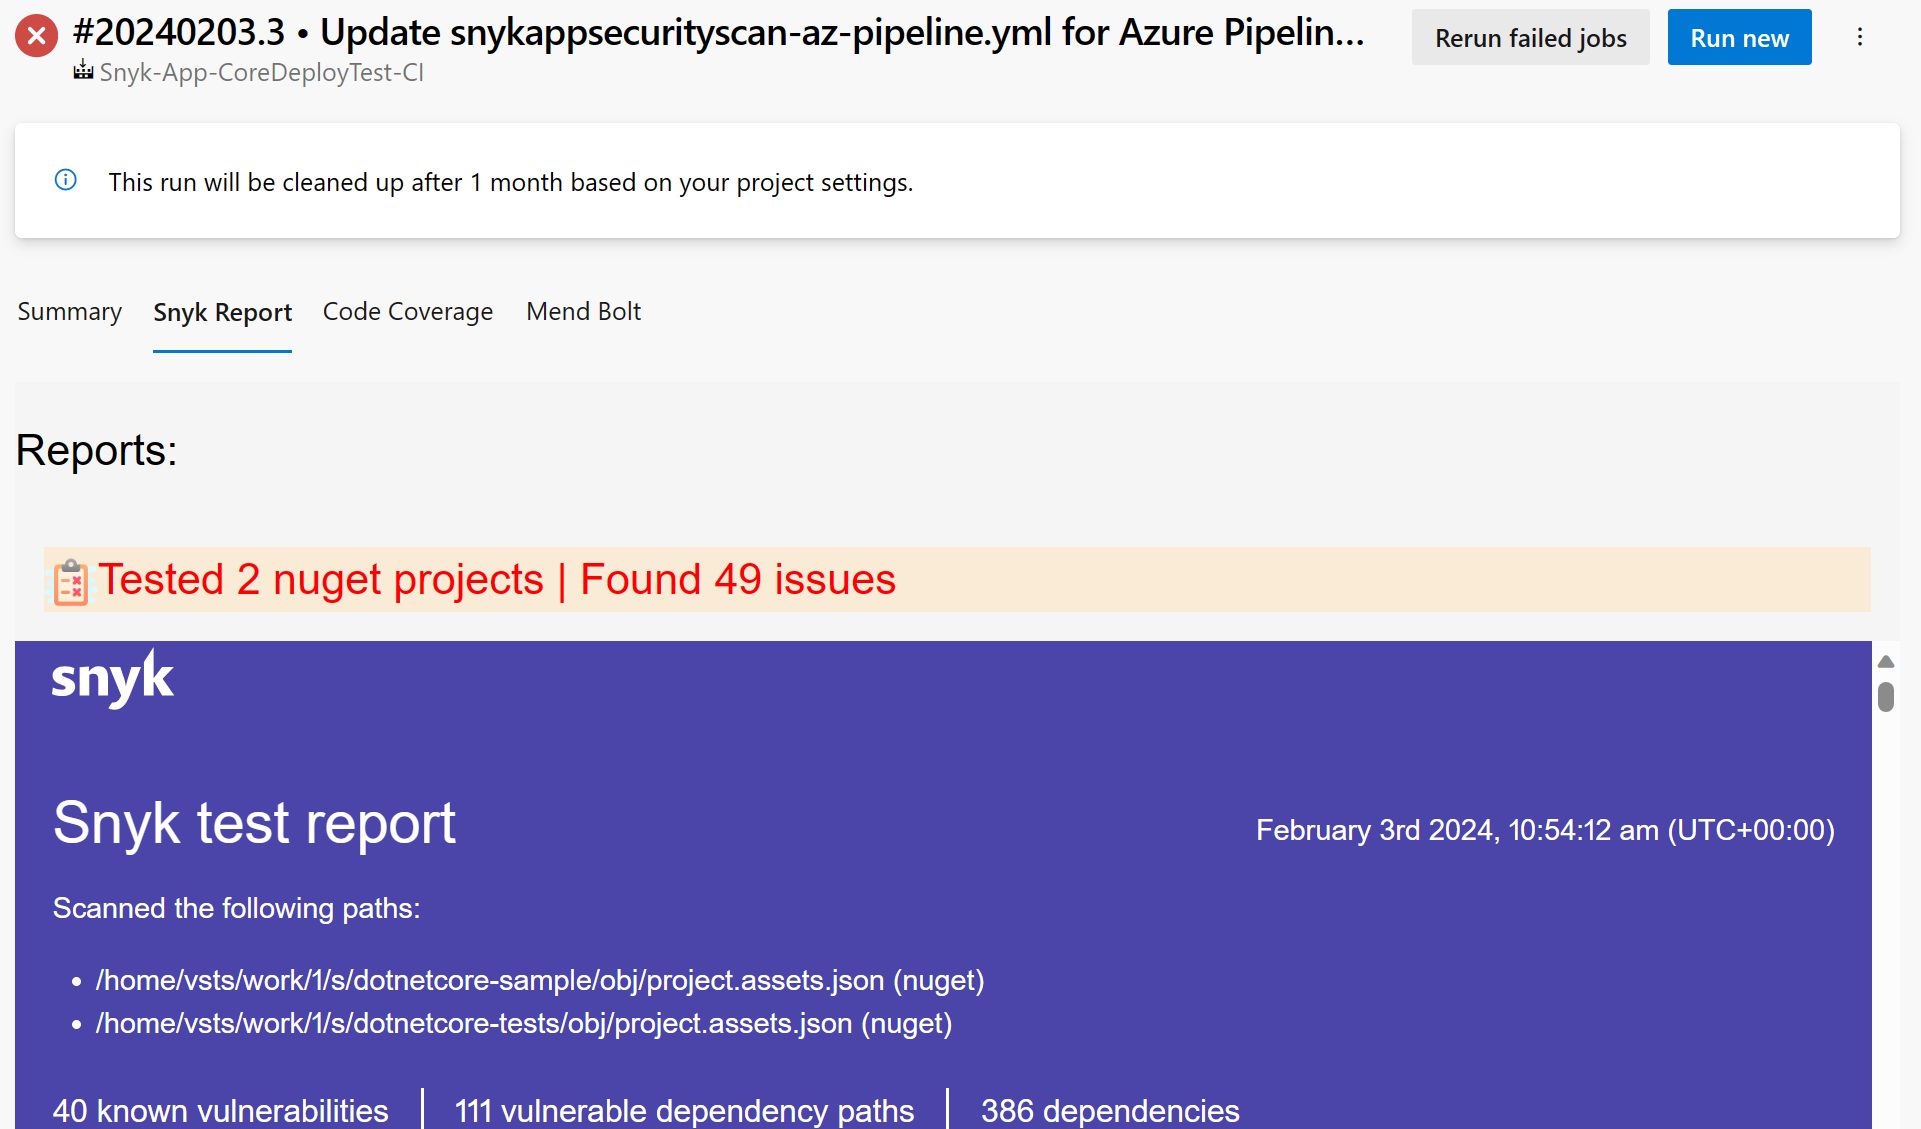
Select the Snyk Report tab to view the Snyk test report.
Conclusion
By seamlessly integrating Snyk into your Azure Pipelines workflow, you elevate your development process from merely functional to inherently secure. Snyk's commitment to developer-first security aligns seamlessly with the ethos of Azure Pipelines, providing a robust solution for managing and securing your dependencies. With Snyk as your vigilant ally, the intricate dance of dependencies becomes a secure and confident stride towards code excellence.
Got a comment?
All my articles are written and managed as Markdown files on GitHub.
Please add an issue or submit a pull request if something is not right on this article or you have a comment.
If you'd like to simply say "thanks", then please send me a so the rest of Twitter can see how awesome my work is.